How to Prepare for Junk Removal Service
Your step-by-step guide to a smooth junk removal experience
Proper preparation can make your junk removal experience faster, more efficient, and more cost-effective. Whether you're scheduling residential cleanout service or a commercial project in Minneapolis, following these preparation steps ensures everything goes smoothly.
Before Booking Your Service
1. Assess What Needs to Go
Walk through your space and make note of:
- Large furniture pieces: Sofas, beds, dressers
- Appliances: Refrigerators, washers, dryers
- Electronics: TVs, computers, stereos
- Miscellaneous items: Boxes, clothing, decorative items
- Special items: Items requiring special handling or additional fees
2. Check for Prohibited Items
Review our guide on what items can and can't be removed and set aside any prohibited materials like:
- Paint and chemicals
- Propane tanks
- Hazardous materials
- Car batteries
3. Consider Donation Opportunities
Identify items in good condition that could be donated:
- Working electronics
- Furniture without damage
- Clothing and books
- Household goods
Let your Minneapolis junk removal team know about donation items - many companies will handle the donation process for you.
One Week Before Service
Schedule Your Appointment
- Book early: Popular time slots fill up quickly
- Choose the right window: Allow 2-4 hours for most residential projects
- Confirm details: Address, contact information, and any special instructions
Notify Household Members
- Let family members know about the scheduled service
- Ask everyone to remove personal items from furniture being removed
- Arrange for pets to be secured during service
Check Access Requirements
- Parking: Ensure the truck can park close to your home
- Gates: Unlock any gates the team will need to access
- Elevators: Check if building elevators can accommodate large items
- Stairs: Note any stairs or difficult access points
The Day Before Service
Final Item Preparation
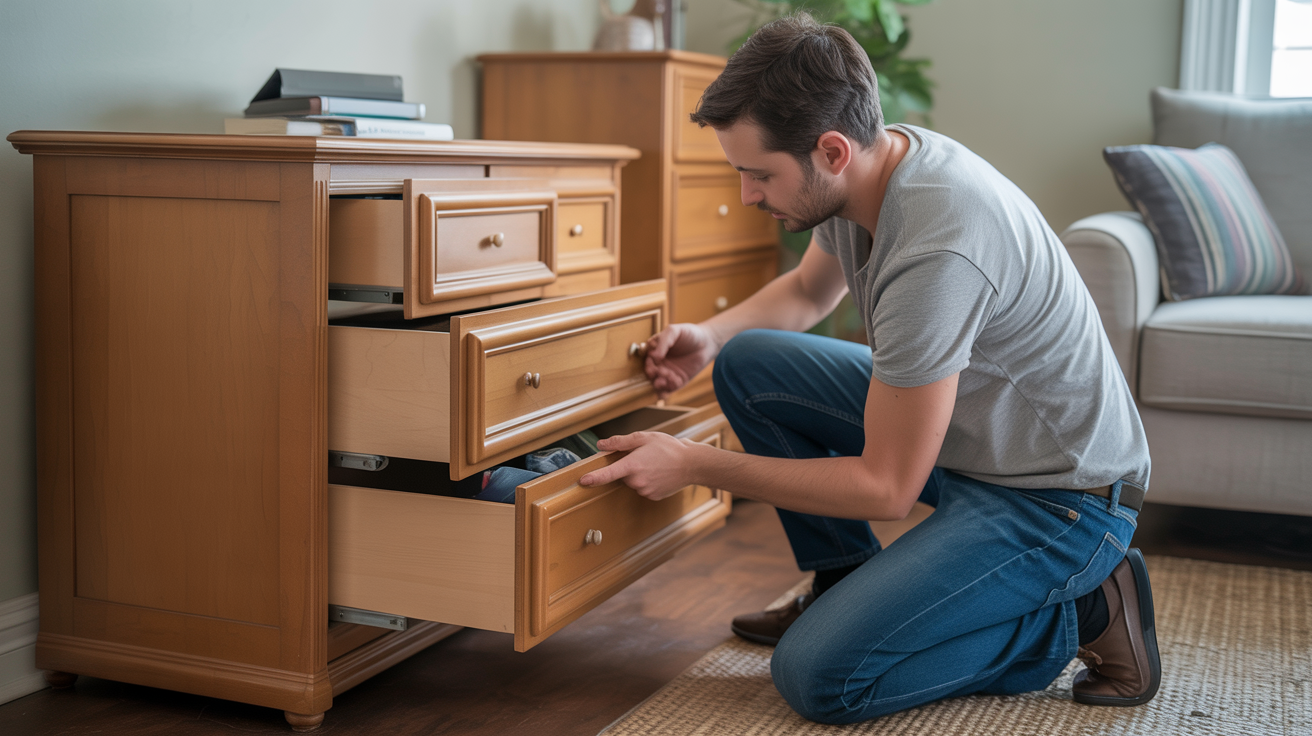
Always empty furniture drawers and compartments before service day
Empty All Containers
- Remove personal items from dressers, desks, and cabinets
- Empty all drawers and compartments
- Check pockets of clothing being disposed of
- Remove items from boxes that you want to keep
Prepare Appliances
- Refrigerators/Freezers:
- Remove all food items
- Unplug 24 hours before service
- Allow to defrost completely
- Clean up any water from defrosting
- Washers/Dryers:
- Run a final empty cycle to remove excess water
- Disconnect water hoses if comfortable doing so
- Clean lint from dryer vents
- Gas Appliances:
- Have gas lines professionally disconnected
- Keep receipt for gas disconnection service
Electronics Preparation
- Computers/Tablets: Back up important data and perform factory reset
- TVs: Remove from wall mounts if applicable
- Gaming systems: Remove game discs and memory cards
- All electronics: Gather power cords and remotes
Path Preparation
- Clear walkways: Remove obstacles from paths the team will use
- Protect floors: Consider laying down protective covering for valuable floors
- Remove trip hazards: Secure rugs, clear toys, and remove clutter
- Light the way: Ensure adequate lighting in all areas
Day of Service
Before the Team Arrives
Final Walkthrough
- Do a final check to ensure all personal items are removed
- Double-check that items you want to keep are clearly separated
- Secure pets in a safe area away from the work zone
- Have important documents and valuables in a secure location
Organize Items by Location
- Group items in the same room when possible
- Place small items in boxes or bags
- Keep similar items together (all electronics, all furniture, etc.)
- Clear a staging area near the exit if possible
Prepare Payment and Paperwork
- Have payment method ready (most companies accept cash, check, or card)
- Keep your service agreement handy
- Prepare any receipts for recent appliance disconnections
When the Team Arrives
Initial Assessment
- Walkthrough: Show the team what needs to be removed
- Point out special items: Indicate anything requiring special handling
- Confirm donation items: Show them what should be donated vs. disposed
- Discuss access: Point out any challenging areas or obstacles
Get Your Quote
- The team will assess volume and provide an upfront quote
- Ask about any additional fees for special items
- Confirm what's included in the price
- Get agreement on donation handling
Address Questions
Don't hesitate to ask:
- "What items will be donated vs. disposed of?"
- "How long will this take?"
- "Will you clean up the area afterward?"
- "Do you handle the stairs/difficult access?"
- "Are there any additional fees?"
During the Service
What to Expect
- Professional team: Uniformed, trained professionals
- Proper equipment: Dollies, straps, and protective gear
- Efficient process: Systematic loading starting with largest items
- Respectful service: Care for your property and belongings
Your Role During Service
- Stay available: Be present for questions and decisions
- Last-minute items: Point out any additional items you decide to remove
- Keep pets secure: Ensure pets don't interfere with the work
- Document valuable items: Take photos of valuable items being donated
Safety Considerations
- Stay out of the work area while team is loading
- Keep children and pets away from the work zone
- Let professionals handle all heavy lifting
- Point out any fragile or valuable items nearby
Special Situations
Estate Cleanouts
For estate cleanout projects, additional preparation includes:
- Family coordination to identify valuable or sentimental items
- Sorting through important documents
- Coordinating with estate sale companies if applicable
- Having a designated family representative present
Commercial Cleanouts
Business cleanouts require:
- After-hours scheduling to avoid business disruption
- Coordination with building management
- Data destruction certificates for computers
- Coordination with IT department for electronics
Hoarding Situations
For sensitive hoarding cleanup:
- Emotional preparation for letting go of items
- Having a support person present
- Taking breaks as needed
- Starting with clearly unwanted items
After the Service
Immediate Post-Service
- Final walkthrough: Ensure all intended items were removed
- Check for damage: Report any issues immediately
- Get documentation: Receipt, donation records, recycling certificates
- Provide feedback: Reviews help improve service quality
Clean-Up
Most professional services include basic cleanup, but you may want to:
- Vacuum or sweep the cleared areas
- Wipe down surfaces that were blocked by removed items
- Reorganize remaining items in the cleared space
Tips for Maximum Efficiency
Save Time and Money
- Be decisive: Make removal decisions before the team arrives
- Group items: Organize similar items together
- Clear access: Easy access speeds up the process
- Communicate clearly: Give clear instructions about what goes
Maximize Donations
- Clean items before donation when possible
- Group donation items separately
- Ask for donation receipts for tax purposes
- Consider high-value items for separate donation pickup
Common Mistakes to Avoid
- Leaving personal items in furniture: Always empty all drawers and compartments
- Not clearing pathways: Obstacles slow down service and increase costs
- Waiting to decide: Have decisions made before the team arrives
- Forgetting about access: Ensure gates, doors, and elevators are accessible
- Not preparing appliances: Unprepared appliances may incur additional fees
- Mixing prohibited items: Keep hazardous materials separate
Weather Considerations
Winter Preparation (Minneapolis)
- Clear snow and ice from pathways
- Salt walkways for safety
- Have indoor staging area ready
- Consider covered areas for items
Summer Considerations
- Provide shade or water for the team if possible
- Consider early morning appointments to avoid heat
- Keep pets cool and hydrated
Getting the Best Value
- Bundle items: Combine multiple areas for better efficiency
- Schedule wisely: Weekday appointments may offer better rates
- Be flexible: Flexible scheduling can sometimes reduce costs
- Ask about discounts: Senior, military, or repeat customer discounts
Emergency or Last-Minute Service
Sometimes you need same-day junk removal service:
- Call early in the day: Better chance of same-day availability
- Be flexible with timing: Accept available time slots
- Have items ready: Minimal preparation time
- Expect premium pricing: Rush jobs may cost more
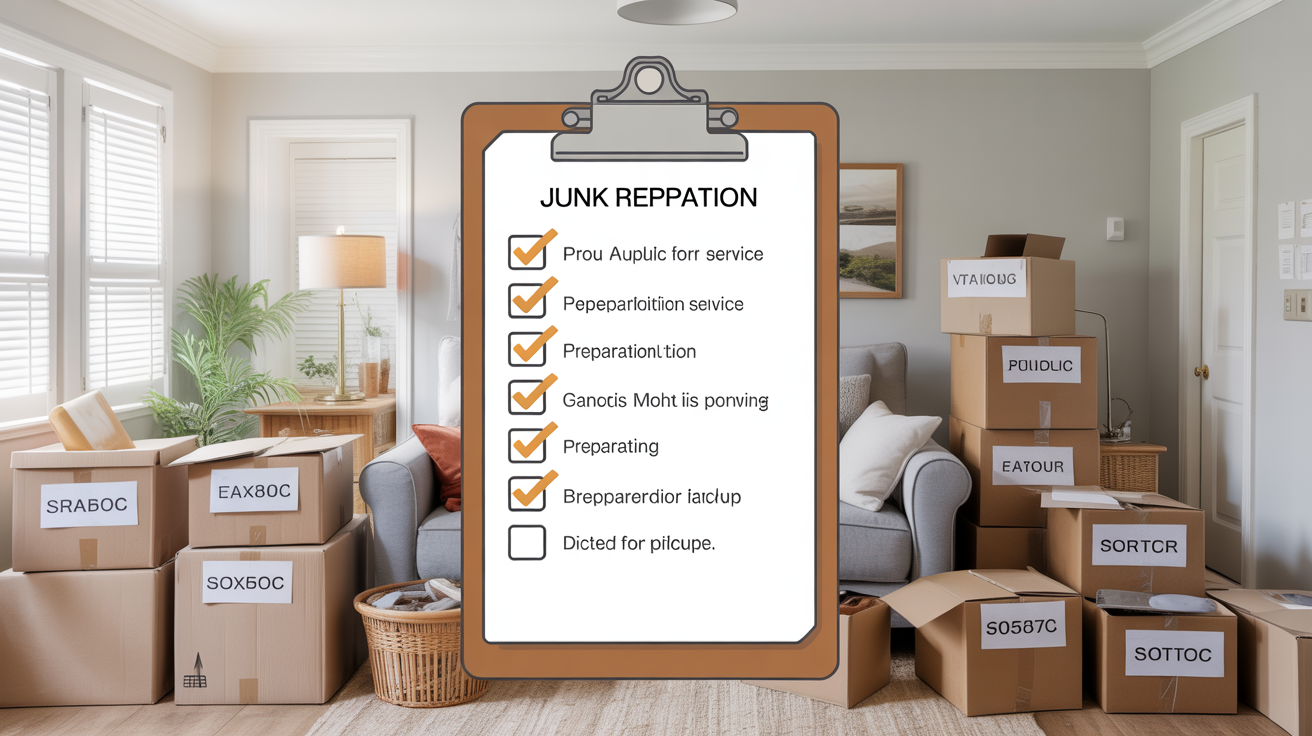
Final Checklist
Day Before Service:
- ☐ Empty all furniture and containers
- ☐ Defrost and clean appliances
- ☐ Clear pathways and access points
- ☐ Separate donation and disposal items
- ☐ Secure pets and arrange supervision
- ☐ Confirm appointment time
Day of Service:
- ☐ Final walkthrough completed
- ☐ Personal items secured
- ☐ Payment method ready
- ☐ Questions prepared for the team
- ☐ Pets secured safely away from work area
Ready for Stress-Free Junk Removal?
Following these preparation steps ensures your Minneapolis junk removal experience is smooth, efficient, and cost-effective. Professional preparation not only speeds up the process but often results in better pricing and outcomes.
When you're ready to schedule your junk removal service, contact Minneapolis Junk Removal for your free estimate. Our experienced team will work with you to ensure your cleanout project goes perfectly from start to finish.